How to Import Outlook PST in Office 365 (Exchange Online)
Are you Looking to Import PST File in Office 365 (Exchange Online)? If yes then you have landed at right place. Here in this How To Tutorial I will explain simple steps of Importing the Outlook PST file in Office 365 Environment.
Steps to Migrate PST file to Office 365
Users can use the Office 365 Import Service of Microsoft to Move PST emails, calendars, tasks, etc. to Office 365.
Step 1: Share Folder that contains PST file
First of all Share the folder of PST file with everyone. For that Open Properties of Folder by right clicking on it. Now switch to Sharing Tab and click on Share button.
Now Share the folder with Everyone. This will generate the Server Path of PST file and this path will be used to Import the data of PST file in Office 365.
Step 2: Now Access the Import Service of Office 365
From the Office 365 Admin Center click on Import option. Now Click on the plus sign from the middle pane. Here you will find two options:
- Ship data on physical hard drives
- Upload files over network.

For importing the data of PST file in Office 365 we will use the second method i.e. uploading files over the network.
Step 3: Download the Azure AzCopy Tool
In the next step Download the Azure Tool by clicking on the Download Tool link. It is a command line tool that helps in uploading the data to Azure.

After that Click on Next two links (Show key and Show URL). These Links will generate Security key and Unique URL. This Key and URL will be used with the AzCopy command to upload the data of PST file to Azure.
Step 4: Run the Command on Azure Tool to Upload the data
Now Upload the data over Azure by running the command given below:
AzCopy.exe /source:\\SERVER\SHARE /dest:{your unique URL}/SERVER/SHARE /destkey:{your unique key} /S /V:C:\Logfile\import.log
- \\Server\SHARE >> Replace this with the Server Path of PST file that you have copied previously.
- {your Unique URL} >> Replace this complete string with the URL (Enter the URL without braces {})
- {your Unique key} >> Replace this complete string with the Key (Enter the URL without braces {})
- C:\LogFile: This will store the import.log file in a Folder LogFile in C drive.
This process will take some time and it depends upon the Size of your Outlook PST.
After the successful upload operation, Make a check on both the fields as shown below and then click on Next button

Step 5: Move the uploaded PST file to the Corresponding Mailbox
Now its turn to migrate the uploaded PST file to the respective mailbox. For that we have to create a CSV file containing the information given below:

Exploring the Columns of CSV File
- Workload: Enter Exchange in this field as we are importing the PST file in Exchange Online Mailbox
- FilePath: Enter the server path of PST containing folder here
- Name: Enter the Name of PST file that you want to import.
- Mailbox: Enter the email id of Mailbox in which you want to Import the PST file.
- IsArchive: In this field you have to specify that whether you want to save the imported PST file in the Primary mailbox or archive mailbox.
- Enter False to Import data in Primary Mailbox
- Enter True to Import data in archive mailbox
- TargetRootFolder: Here you have to specify the root folder where you want to import the data in Mailbox. You can use the following options to import to specify the folder
- Enter data in Root Level – Enter "/" (without quotes) to import data at mailbox root level
- Enter data in the folder: Enter folder name in which you want to import data in mailbox.
Step 6: Now Enter the name of Job and Click on Next button
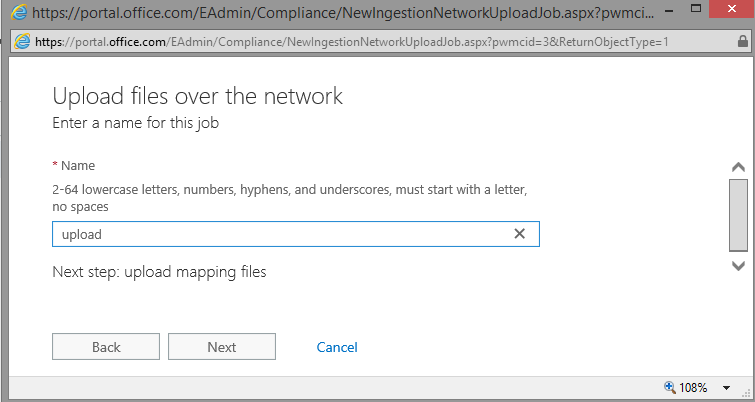
After that browse the CSV file by clicking on + button and click on Finish button.

This will map the PST file with the mailbox details that you have specified in the CSV file. After completion of the import process you can check the mailbox for imported PST file.
Conclusion
Here in this How To tutorial I have explained an easiest method of Importing the Outlook PST file in Office 365 Environment. You may also go for third party solution for the same task and as per my own experience MailsDaddy PST to Office 365 migrtaion tool is the best application. If you have any doubt or facing any error while importing the data in Exchange Online (Office 365) then start the discussion by commenting below